

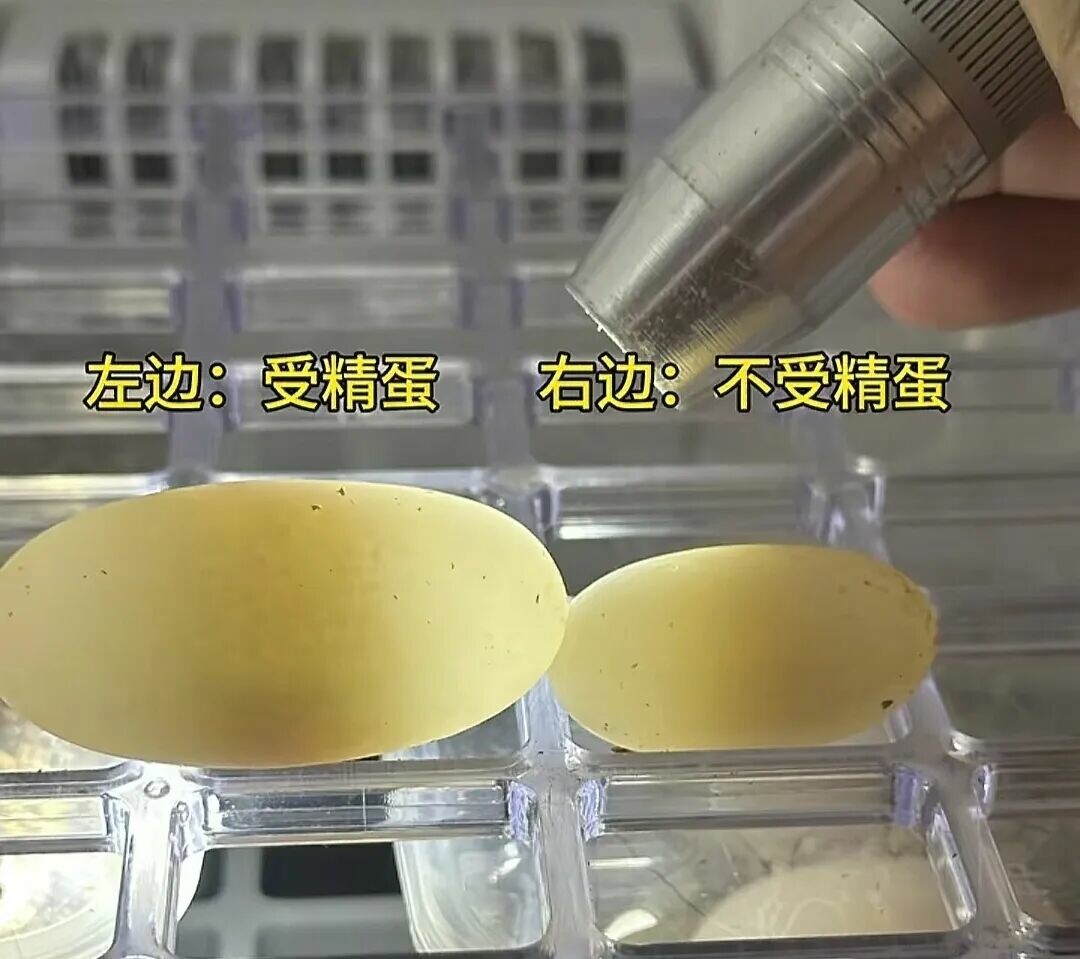
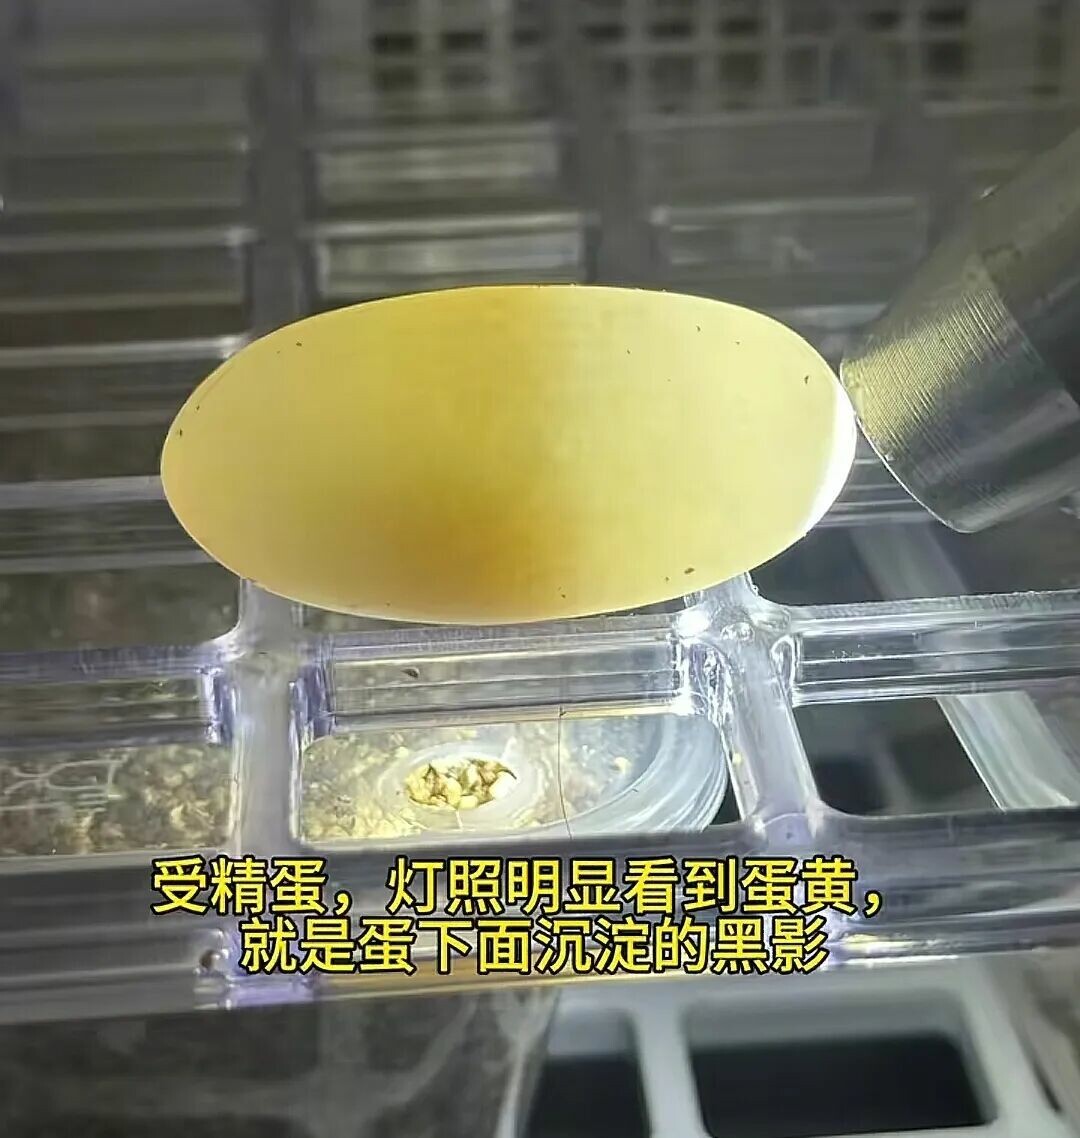
Hold a flashlight tightly against the eggshell to illuminate it. If you can see clear red blood vessels or a black shadow (the embryo) inside the egg, it is a good, successfully fertilized egg. If the inside of the egg is entirely white or yellow with no shadows, it is an unfertilized egg and cannot be hatched.
Preparation Before Incubation
Choose a plastic box with a lid. A takeout container or a storage box will do.
Incubation Medium
Here are 3 recommended beginner-friendly mediums.
Vermiculite (a silicate mineral often used in horticulture and incubation): It has the best water retention and breathability. Soak it thoroughly in clean water beforehand and squeeze out the excess water.
Perlite (a type of volcanic-erupted acidic vitreous rock, often used in horticulture and construction): It is lightweight. Mix it with vermiculite at a 1:1 ratio for more balanced moisture retention.
Sand and soil: If you don’t have the first two, you can use a mix of clean river sand and garden soil at a 2:1 ratio. Disinfect it by sun exposure and then spray with water to moisten.
Auxiliary Tools
A small spray bottle, a thermometer (to be attached to the inner wall of the container), and a marker pen (for marking the eggs).
Note: If you are buying eggs online, try to find sellers who offer guaranteed hatching. They will have already adjusted the vermiculite’s humidity, so all you need to do is take them home, place them in a dark corner, and wait quietly for them to hatch.
The Formal Incubation Process
Once the tools are ready, you can place the eggs. Remember the core principle:
Don’t turn them, control temperature and humidity, and minimize disturbance!
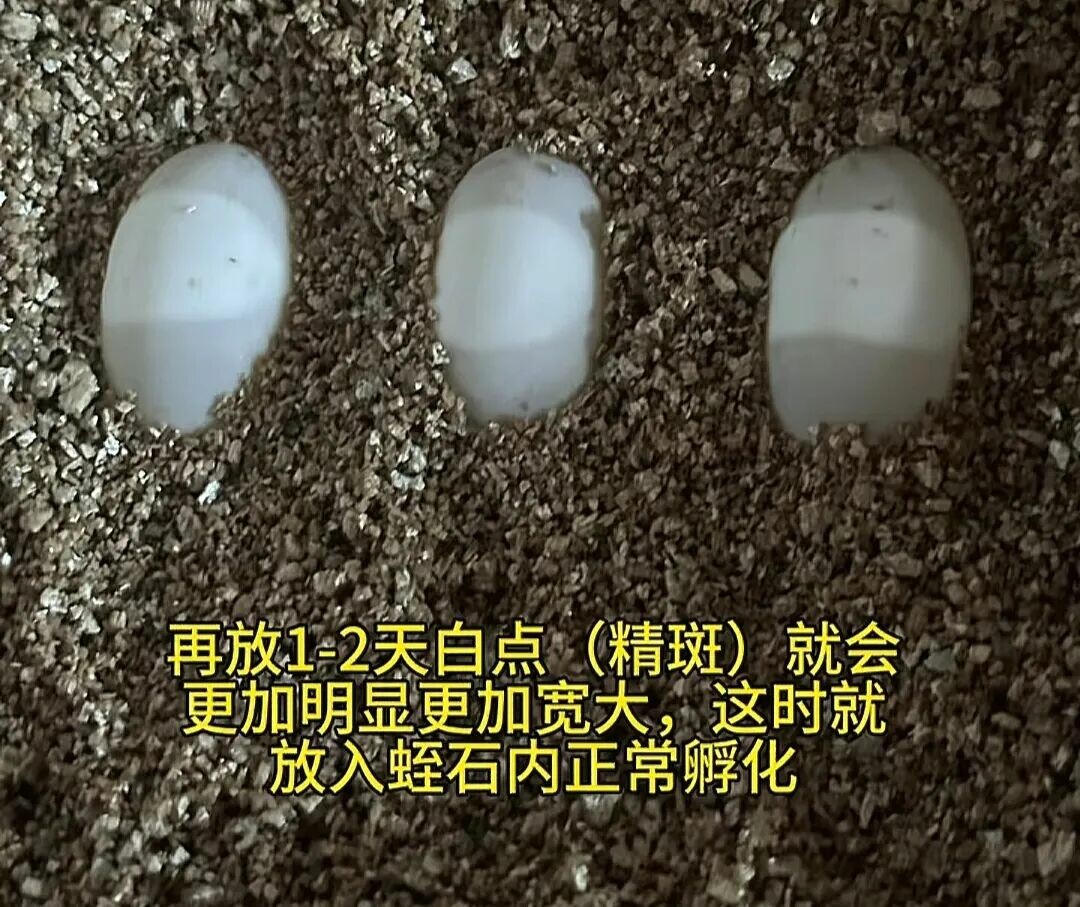
Spread the moisture-adjusted vermiculite to a thickness of about 6 cm. Then, dig a small pit on the surface of the vermiculite. The depth of the pit should be about 1/2 the height of the turtle egg. Space the pits 3cm apart to prevent the eggs from squeezing each other.
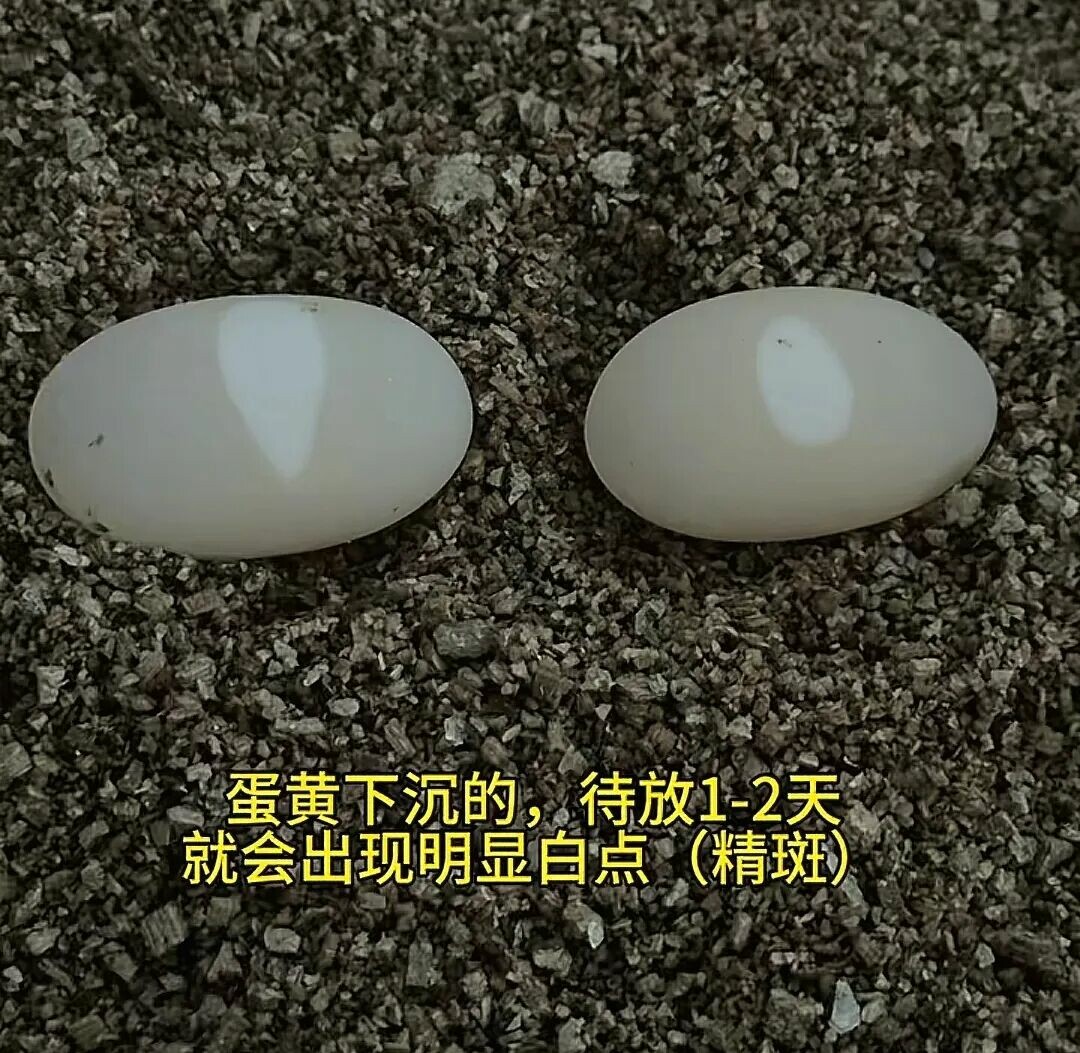
Place the turtle eggs and mark them. Put the side with the white spot facing up, as the white spot is where the embryo develops. Place the egg in the small pit and then gently cover half of it, leaving the upper half exposed for observation. After placing them, use a marker pen to draw a small circle on the eggshell (to mark the upward-facing side). Do not turn the eggs during subsequent checks.
Temperature and Humidity Control
The optimal temperature is 25-30℃:
Temperature at 25-28℃: Longer incubation time (60-90 days).
Temperature at 28-30℃: Shorter incubation time (45-60 days).
If the temperature drops below 20℃ or exceeds 32℃, the embryo is likely to die.
Observe the vermiculite daily. If the surface looks white and dry, spray it with water using the spray bottle (do not spray directly on the eggs) to maintain humidity.
Post-Hatching Care
When you see a crack in the shell, it means the turtle is about to hatch. Prepare a box that the turtle cannot climb out of, lined with a damp paper towel that you can’t squeeze water out of. Take the turtle egg out, wipe off the vermiculite, and wait until the turtle has completely emerged, the yolk sac is mostly absorbed, and the umbilicus has closed before placing it in water. Before putting it in the water, you should also use a small lid with water to hydrate the turtle to prevent it from dying of thirst.
The nutrition from the yolk sac is enough for the turtle for at least 1 month. It’s not good to start feeding too early. Try to start it on turtle pellets; if that doesn’t work, then consider using insects.
Summary: Actually, it is not recommended for beginners to buy turtle eggs. This is because dealing with hatchlings that won’t start eating is a big headache, and as everyone knows, there’s a “bizarre phenomenon” in the turtle circle (an informal term for the community of turtle enthusiasts): turtle hatchlings are cheaper than turtle eggs. If you must buy eggs, be careful to avoid scams and don’t be tempted by cheap prices—”pies don’t fall from the sky, only traps do.”
Original article by 搬运工, if reproduced, please cite the source: https://www.kaipet.com/en/hatching-turtle-eggs-difficult-3-step-guide-beginners-successfully-hatch-baby-turtles


Comments(2)
This is such a clear guide! I’m particularly intrigued by the ‘bizarre phenomenon’ mentioned. Could you share more about why hatchlings are often cheaper than eggs? It’s quite unexpected for beginners like me!
@CriticX:Thank you for your kind words! We’re glad you found the guide helpful. The ‘bizarre phenomenon’ often stems from the risks and effort involved in incubation. Many prefer the certainty of hatchlings, which can lower their market price compared to eggs for some species.