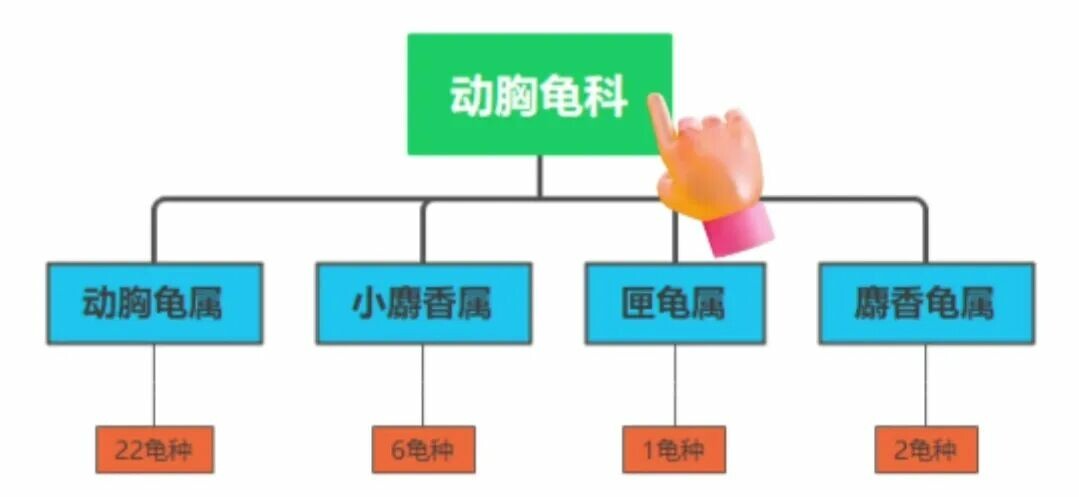
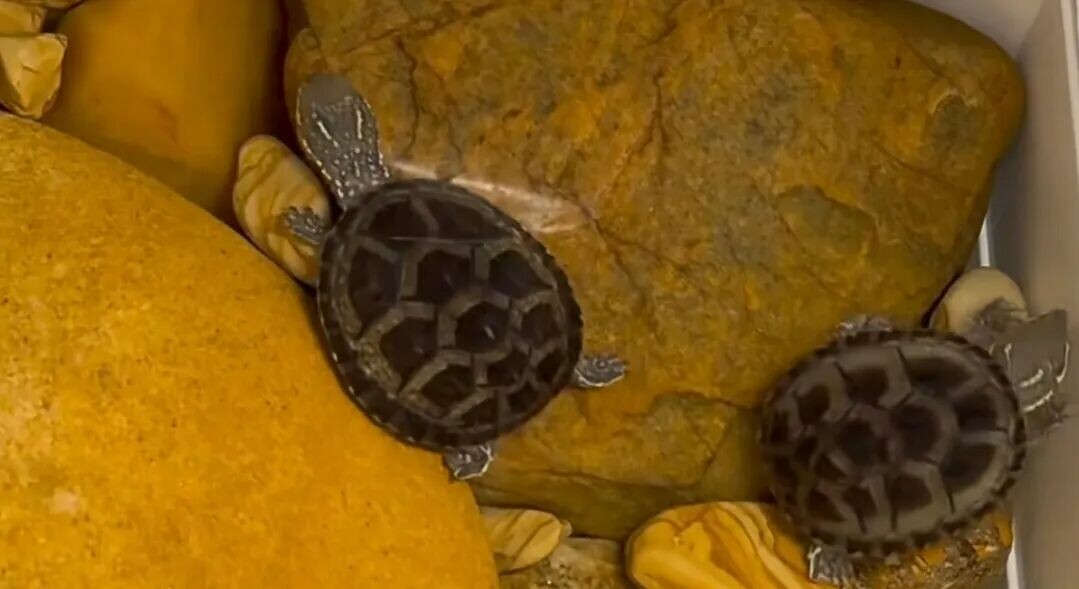
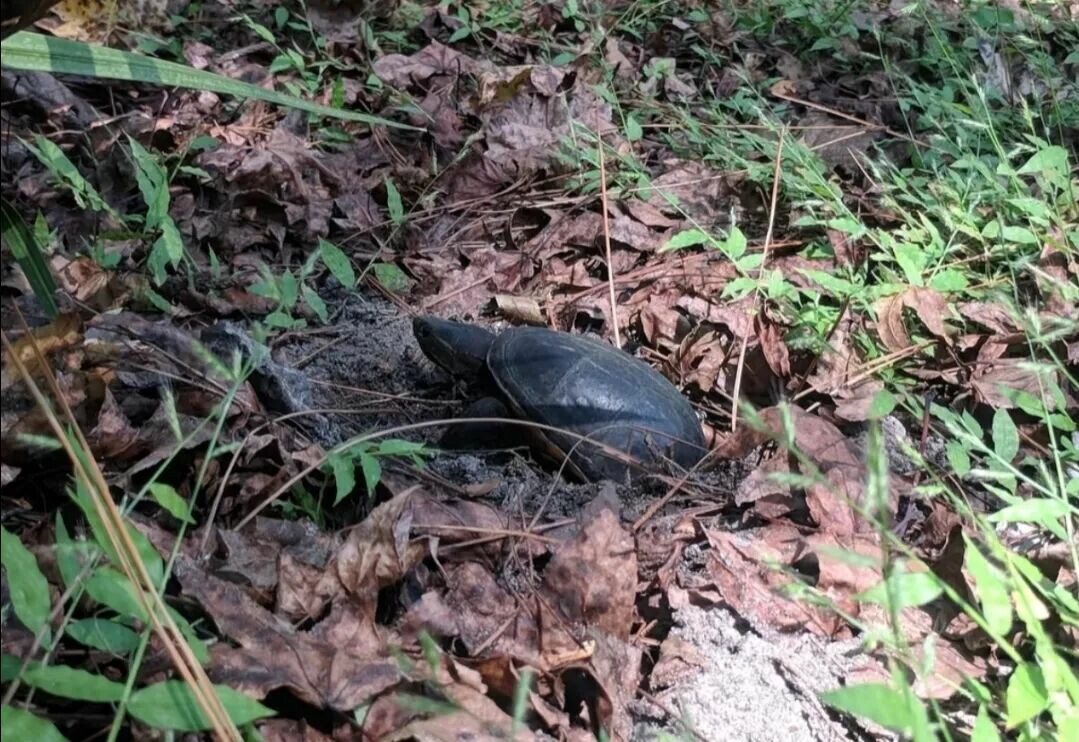
The Razor-backed Musk Turtle (Sterotherus carinatus), also known as the Razorback, or Roof Turtle, belongs to the family Kinosternidae and the genus Sternotherus. It is native to the region from southern Mississippi to Texas in the United States. With strong environmental adaptability, it is a common pet turtle kept domestically.

Physical Characteristics
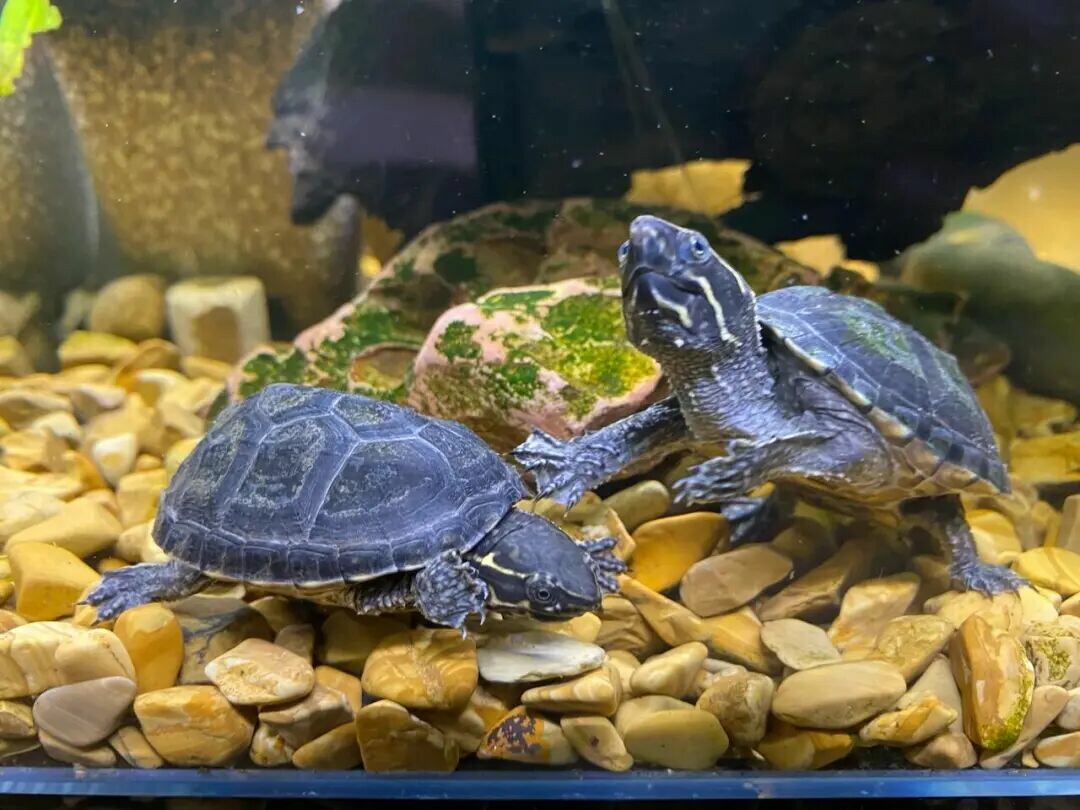
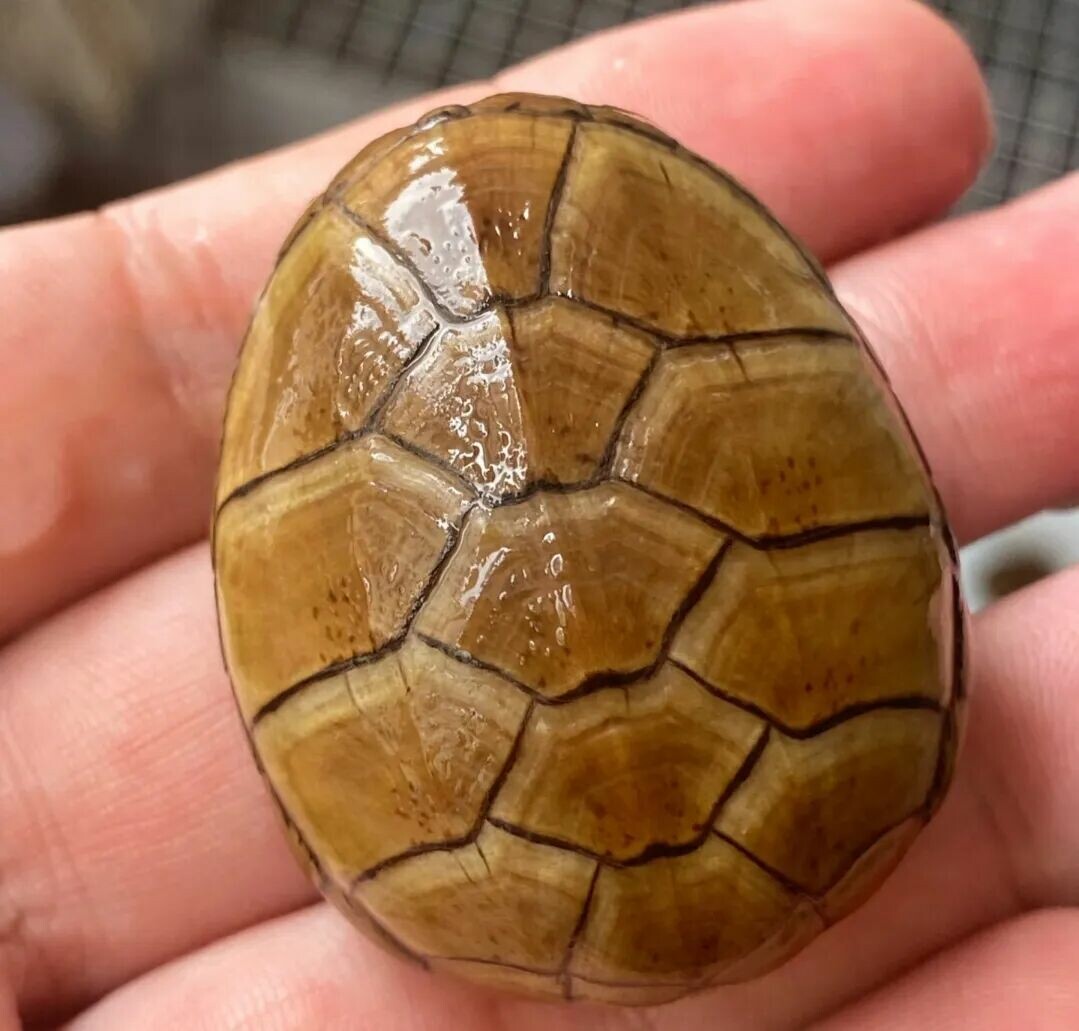
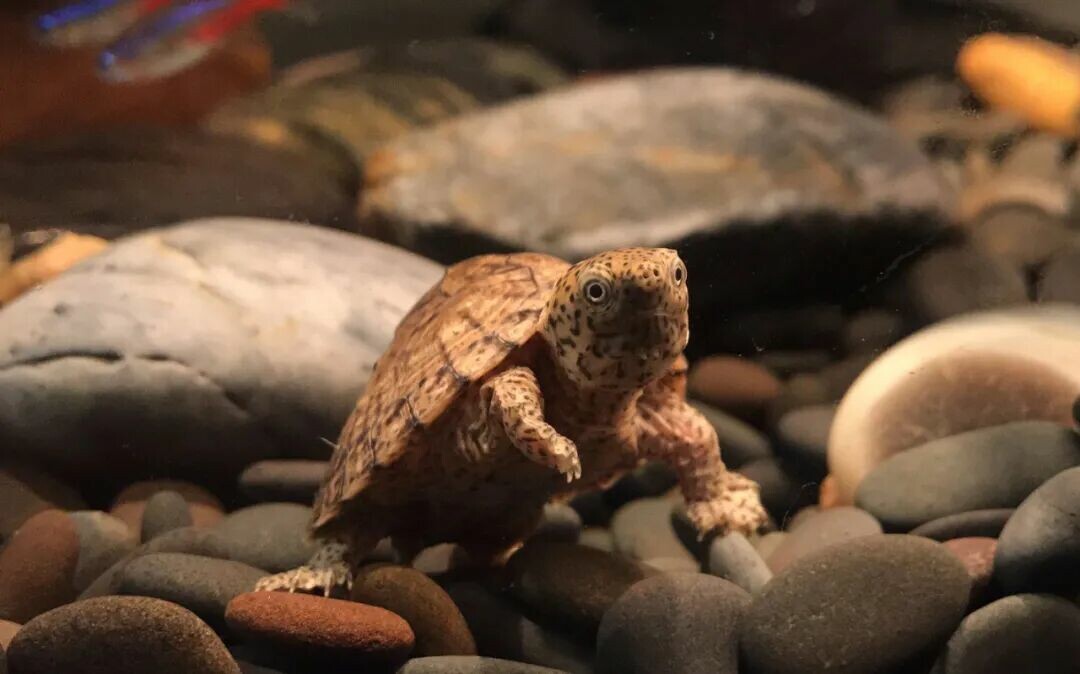
Its back towers prominently, “sharp as a razor”; it can be described as “a ridge when viewed transversely and a peak from the side.” The carapace is yellow-brown, covered with radiating striae, and the head features sesame-like dotted patterns. It is truly the “walking little cliff” of the turtle world! The scutes range from light brown to brownish-yellow, featuring dark spots or radiating streaks, as well as dark edges. As juveniles, the plastron is grayish-white to pink with dark spots; adults have a grayish-white plastron lacking a gular scute, with a hinged joint located between the pectoral and abdominal scutes. The nose protrudes slightly like a tube, and barbels grow on the lower jaw. Unlike other musk turtles, this species is very shy, rarely bites, adapts well to environments, and is easy to raise. In captivity, they typically live for 20 years, with a maximum lifespan of 29 years.
Habits and Behavior
Razor-backed Musk Turtles live in swamps or slow-moving lakes and rivers with soft muddy bottoms and lush vegetation. They are timid by nature, prefer cooler temperatures, like to hide, can hibernate, and bask relatively infrequently. They are omnivorous but prefer a carnivorous diet. Areas with plenty of deadwood and aquatic vegetation are conducive to the Razorback’s hiding and basking. Individual Razorbacks will often climb onto deadwood exposed high above the water surface to bask.

Care and Management
Hatchling Stage (3-5 cm)
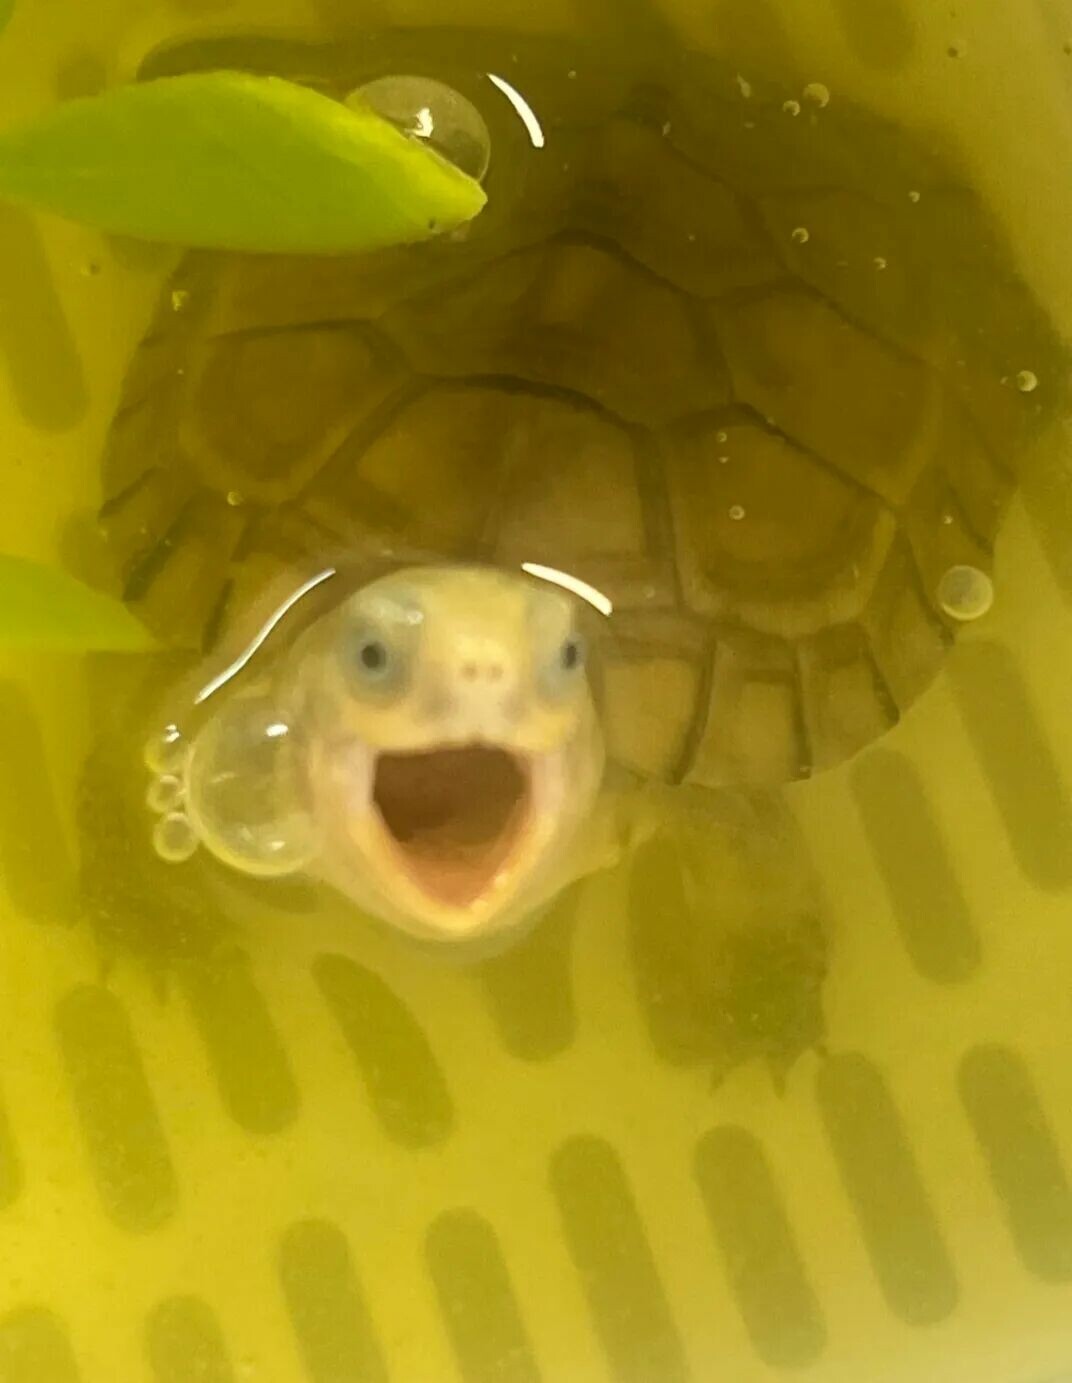
Newly hatched Razorback seedlings do not have a constitution as robust as adult turtles and are relatively sensitive to temperature; if you are not careful, they might “die.” Therefore, controlling the rearing temperature is the most critical step.
Temperature: It is generally recommended to raise them at a constant temperature. For 1st-year hatchlings, it is recommended to keep them at a constant temperature after incubation. 28℃~30℃. When heating, proceed gradually, increasing the water temperature a little each day until the target temperature is reached. Avoid raising the temperature suddenly. Water Level: Just covering the back (carapace) for hatchlings, then gradually increase the water level. Feeding: Since the intestines of Razorback hatchlings are relatively weak, feeding should mainly consist of easily digestible feed. Soak the feed in water to soften it before feeding. Feeding once every 1 to 2 days is sufficient.
I have gathered and synthesized a few tips from various channels such as books, bloggers, and streamers:
- Aeration has only benefits; adding oxygen to the water body facilitates the reproduction of beneficial bacteria such as digestive bacteria, while limiting the growth of anaerobic bacteria.
- It is recommended to turn on the light (sun lamp) for 1.5-2 hours daily.
- Add green plants and other hiding areas.
Adult Stage (5-10 cm)
Temperature: Maintain a constant temperature of 28℃~30℃. Water Level: Appropriately increase to 2-3 times the height of the turtle’s back. Feeding: Feed once every 2 days; the portion size should be the size of the head.
At this stage, pay attention to water quality. If the water does not smell bad, there is no need to change it for up to 15 days. Even when changing water, change 1/3 of the water at a time, completing one full water change in multiple stages over the course of a week.
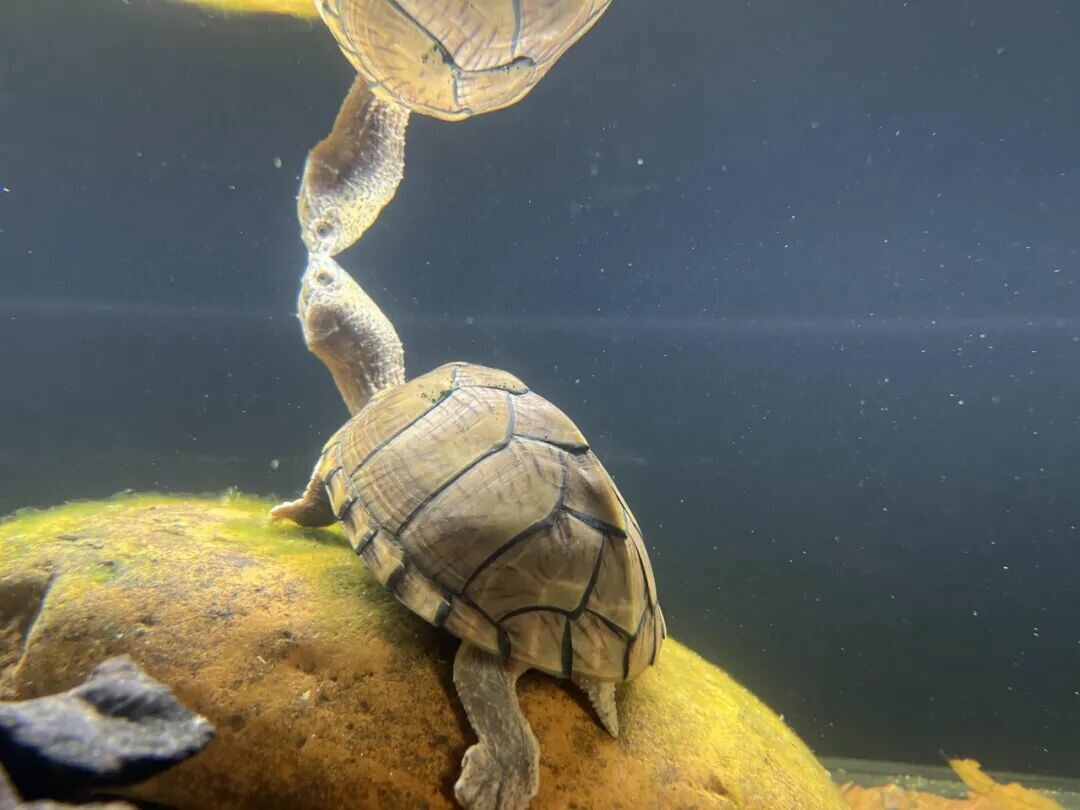
Breeder Stage (Above 10 cm)
Feeding
The diet of Razor-backed Musk Turtles should consist mainly of animal-based feed, generally small fish, small shrimp, snails, and animal viscera. Razor-backed Musk Turtles have strong environmental adaptability; to ensure comprehensive nutrition, a variety of feeds should be mixed or alternated. At the same time, trace elements and compound vitamins should be added to the feed to promote the gonadal development of parent turtles and increase the quantity of eggs and fertilization rate. When feeding, place the food at the water’s edge, observe the turtles’ feeding situation, and clean up remaining food in time to avoid polluting the water quality. The amount of feed should be determined based on the number of turtles and the environmental temperature; feeding should stop when the temperature fluctuates significantly.
Outdoor Pond Layout
Gradually stop feeding when the temperature is below 18℃, and they enter hibernation when below 10℃. Razor-backed Musk Turtles prefer deep water, but the water depth in the captive environment should not exceed 50 cm. The pond should be divided into a deep-water area, a shallow-water area, land, and an aquatic basking platform. Aquatic plants should be prepared in the water, and various plants should be planted on land to provide hiding places for the turtles. The feeding platform is set in the shallow water area by the pond edge, with its side sloping towards the water surface at 20°, and submerged 10 cm into the water to facilitate observation of turtle feeding. Pay attention to cleaning up uneaten feed in time to prevent leftover feed from destroying water quality.
Water Quality Control
Razor-backed Musk Turtles have lower requirements for water quality and prefer aged water; avoid changing water too frequently. When changing water, replace with new water according to conditions such as water quality in the breeding pond and environmental temperature. Generally, the amount of water changed each time is half of the water volume in the pond. When changing water, pay attention to water temperature changes to prevent excessive temperature differences.
Egg-Laying Area
The egg-laying ground for Razor-backed Musk Turtles should be built on land not far from the water surface. A turtle house should be set up on the egg-laying ground; the top and front of the turtle house should be shielded with wooden boards or asbestos tiles, leaving only entrance and exit passages on both sides. A dark, light-avoiding, and quiet environment can increase the turtles’ sense of security, which is conducive to egg-laying. Inside the turtle house sand pool, spread a 20~30 cm thick mixture of fine sand and soil (sand-to-soil ratio of 1:1, sand grain diameter of 0.5~0.8 mm, humidity of 5%~8%). It is best if the sandy soil holds its shape when squeezed in the hand and scatters when released. Plants should be planted around the turtle house to improve habitat diversity.
Egg Laying and Incubation
Female Razor-backed Musk Turtles have ovulation-sized follicles from late April to early July, while sperm production in males occurs from June to August. Courtship and mating occur in the spring, and the nesting season is May to June, but may be earlier in the southern part of their range. Females can lay 2 to 3 clutches of eggs per season (1 to 7 eggs per clutch). As mentioned above, the incubation period lasts 3 to 4 months, hatching in August and September. Female Musk Turtles can store sperm from the previous autumn over the winter, which may also apply to Razor-backed Musk Turtles. Incubation time: 110 to 120 days.

Egg-Laying Process
Egg-laying is mostly carried out at night and ends before midnight. Before laying eggs, the female turtle will repeatedly look for the best laying spot and may dig the sand several times; she will only lay eggs when satisfied. Before laying, the female turtle will repeatedly patrol the nesting ground and will only start digging sand with her two forelimbs after ensuring safety. If disturbed or frightened by the outside world while digging, she will abandon the sand pit and dive into the water. The dug sand pit is 8~10 cm deep and 5~7 cm wide. After the female turtle digs the sand pit, she will turn around, tilt the rear of her body into the sand pit, align her cloaca with the sand nest, and begin to lay eggs. After laying eggs, the female turtle will rest briefly, then use her hind limbs to push the sand around her body into the sand pit, and use her plastron to repeatedly press the sand on the pit. After compacting and hardening the sand, she leaves. The female turtle does not exhibit egg-guarding behavior.
Egg Collection
In the early morning during the laying season, look for laying spots based on the traces of the turtles crawling and digging/burying sand, and mark them. Remove the eggs in the afternoon. When collecting turtle eggs, gently dig open the sand and carefully take out the eggs, keeping the eggs in the collection box in the same orientation as they were in the sand. Level the sand again after digging out the eggs. During the laying season, dig through the entire laying sand system once every 3 days to look for missed turtle eggs and loosen the sand.
Identification and Incubation of Fertilized Eggs
The eggs of the Razor-backed Musk Turtle are long ellipsoids and grayish-white. Within 1~3 days after laying, a clear ring-shaped fertilization spot (chalking) will appear in the middle of the fertilized egg, and the white fertilization spot will gradually expand towards the two poles until the entire egg turns white. If the fertilization spot is still not visible 7 days after laying, it is an unfertilized egg. Put the selected fertilized eggs into an incubator for artificial incubation. When selecting fertilized eggs, handle them with care to prevent vibration. Before incubation, disinfect the incubation room by spraying 10 mg/L chlorine dioxide, and the incubator and vermiculite (a hydrous silicate commonly used as a soil conditioner and incubation medium) need to be exposed to the sun or disinfected at high temperatures.
Incubation Management
Fertilized eggs are incubated at a constant temperature in the incubator. Spread 3~5 cm thick vermiculite inside the incubator, place the fertilized eggs on the vermiculite, and be careful not to change the orientation of the eggs. The distance between eggs is 2~3 cm, and cover the eggs with 3 cm thick vermiculite. Affix a label on the incubator to record information such as species, laying date, and quantity. Control the incubation temperature at 28~30℃, and humidity should be such that the medium holds its shape when squeezed and scatters when released. Avoid spraying too much water to prevent excessive humidity causing the eggs to swell and crack. During the incubation process, regularly check the development of the eggs; moldy eggs should be removed in time to prevent contaminating normally developing eggs. Utensils used during the incubation process should be strictly disinfected to prevent contamination of the eggs.
Hatchling Emergence
It generally takes 6~24 hours for hatchlings to emerge. When breaking the shell, the hatchling will first use the egg tooth on its head to break the eggshell, then use its forelimbs to tear the shell, and climb out of the shell after a short rest. Newly emerged hatchlings usually have a small amount of unabsorbed yolk on their abdomen, and they will burrow into the surrounding vermiculite to hide. The abdominal yolk of the hatchling can be fully absorbed within 1~5 days after emergence. Place the hatchlings with absorbed yolks into a disinfected water basin for temporary rearing, and transfer them to the nursery room or release them into the pond for rearing once normal feeding is observed.
Turtle Disease Prevention and Control
During the rearing process, disease control should focus on prevention. Pay close attention to temperature changes, water quality changes, and feeding conditions. Vitamins and other supplements should be added to the feed in appropriate amounts to improve turtle immunity. Turtles found in poor condition should be removed in time and raised separately to avoid disease transmission. Razor-backed Musk Turtles have relatively strong adaptability to the environment; when rearing, pay attention to several common diseases such as skin rot, colds, and gastroenteritis. The symptoms and treatments of turtle diseases are roughly the same; a detailed explanation of turtle diseases will be published specifically in a later issue.
Original article by 搬运工, if reproduced, please cite the source: https://www.kaipet.com/en/razor-backed-musk-turtle-complete-guide-beginner-care-high-success-breeding